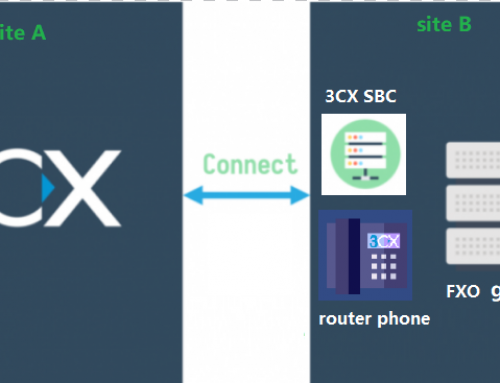
If a large number of the Fanvil phones need to remotely register to 3CX server, in addition to using the RPS server of 3CX to assign auto provisioning links to the phone, the FDPS server of Fanvil can also realize this function. Here we will describe how to remote auto provision the Fanvil phones using FDPS server.
Prerequisites: 3CX server
1.Disable rps in 3CX server. Here we assume that 3CX is installed in linux operation system: ssh to 3CX server using putty, and change rps from 1 to 0 in the fanvil template file fanvil.ph.xml(rps is in the line 49).


After that, press ctrl+x to exit, and press y to save, then press enter key to go back to the command line.
Here please make sure the 3CX system upgrading will not change the rps value.
2.Login the 3CX management console, create the extension, in the page of Phone Provisioning, click Add, input the phone model and mac address, then click OK.

choose the Direct SIP (STUN – remote) in the option Provisioning Method.

Here we can also modify the other settings, like phone display language, timezone, phone web page password and so on.

After confirming all the settings, click the OK button in the top of page.

That is all the phone settings in 3CX server side.
Prerequisites: FDPS server
1.Login the FDPS server(https://fdps.fanvil.com/), and input the phone MAC address and model.
Firstly, choose DEVICE in the top of page, and click Add button:

Here we can batch input the phone information in the exported template file, then upload it to the server:

We can also input the phone information manually:

After finishing the settings, we can find the phone list:

2.set the phone auto provisioning link, and bind it to the related phone.
Click GROUP in the top of page, then click Add button:

We can name group:

In the phone flash area, we need to input:
Server Address: copy 3CX extension configuration link
Protocol Type: HTTPS
Updates Interval: 1
Update Mode: Update After Reboot
After finishing it, click Done button at the bottom of the page to save the settings.

Go back to the DEVICE page, and bind the phone to the corresponding GROUP.

After that, the GROUP will be displayed in the phone list.

After finishing all the preparations, we can restore the factory settings of phone, or if it is the new phone, we can power on it and connect it to the network, the phone will get the auto provisioning link from 3CX to finish the auto provisioning.


