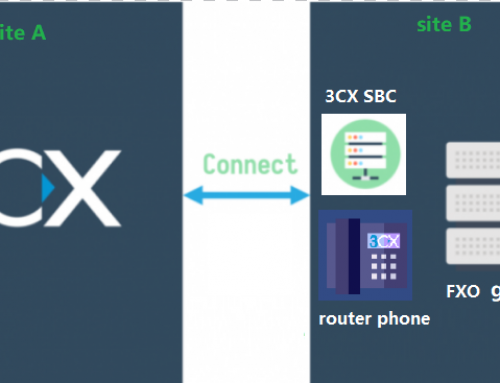
With Microsoft Teams Direct Routing users can connect existing local lines to Teams, which means organizations can maintain existing SIP trunks and PSTN connections – retaining control over numbers and realizing cost savings.
In this user guide, we will show users how to connect Teams Direct Routing using 58VOIP Hosted SBC.
Microsoft 365 Admin Center: 58VOIP Subdomain Setup
Now that your Mission Control Portal is set up and ready to go, you’ll need to activate the subdomain in the Microsoft admin portal before setting up Direct Routing in Microsoft Teams.
In order to set this up, you’ll need a Microsoft license. We’ve listed different license options in the table below:
- User Account with Office 365 E1/E3/E5 or Microsoft 365 E3/E5.
- User Account with Office 365 A1/A3/A5 or Microsoft 365 A1/A3/A5.
- User Account with Office 365 F3 or Microsoft 365 F1/F3.
- User Account with Office 365 G1/G3/G5 or Microsoft 365 G3/G5.
- User Account with Microsoft 365 Business Basic/Standard/Premium.
- User Account with a Microsoft Teams Shared Devices license.
- Resource Account with a Microsoft Teams Phone Resource Account license.
Before you start, ensure you have the appropriate rights in the customer tenant. You can only add new domains if you signed in to the Microsoft 365 admin center as a Global Administrator. To validate the role you have, please sign in to the Microsoft 365 admin center ( https://portal.office.com) and go to Users → Active Users and then verify that you have a Global Administrator role.
ADD A SUBDOMAIN
Before adding a subdomain, you need to confirm the domain name you want to add with 58VOIP.
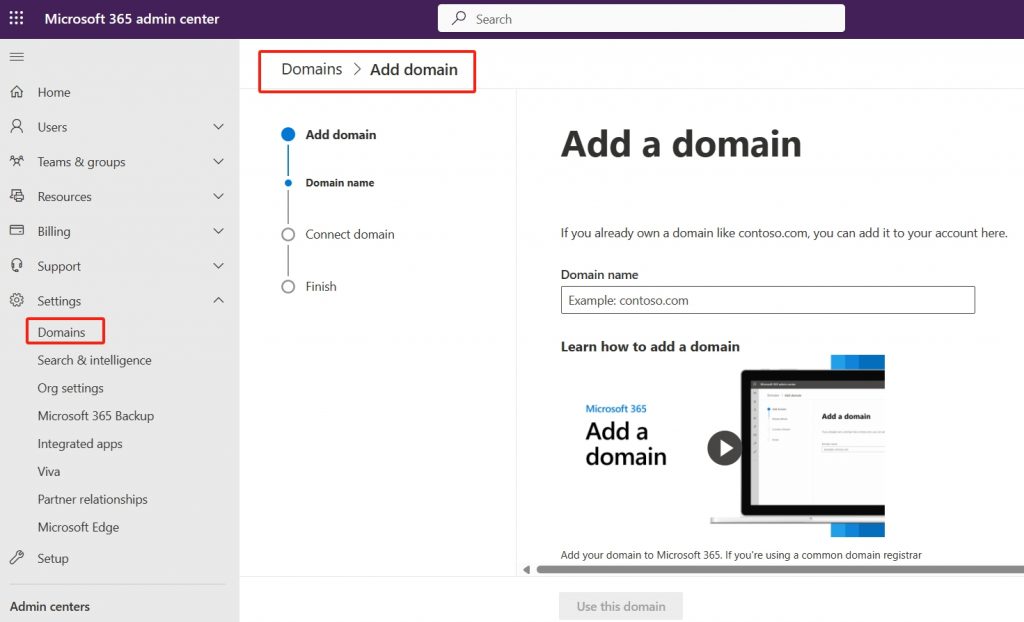
Navigate to Setup → Domains → Add Domain in the Microsoft 365 admin center. Add the subdomain.
Click use this domain and verify the domain on the following page. Then select Add a TXT record instead and click continue.
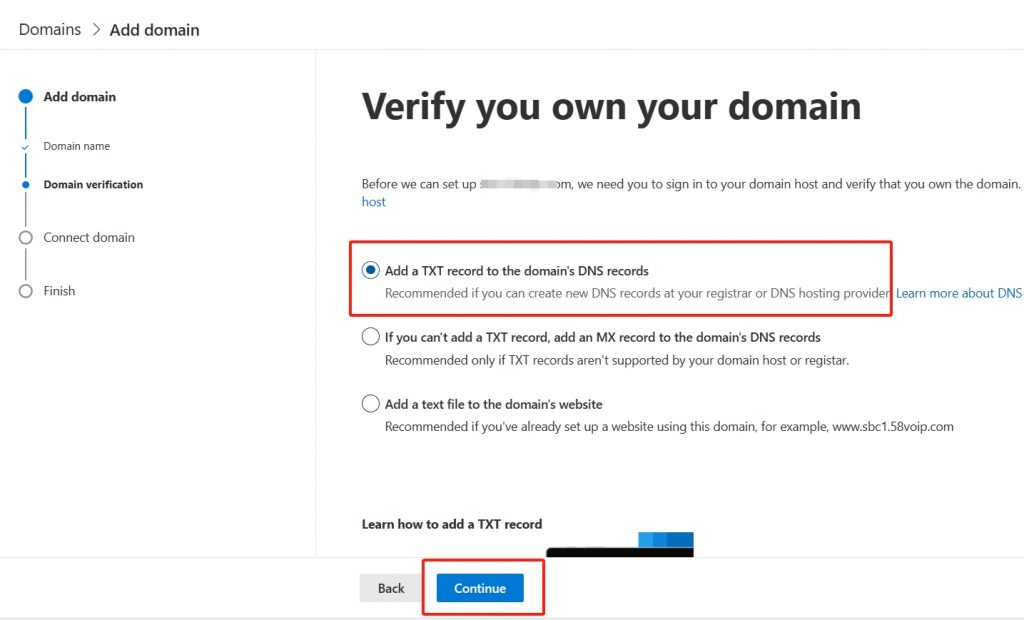
Take note of the TXT value and send it to 58VOIP.
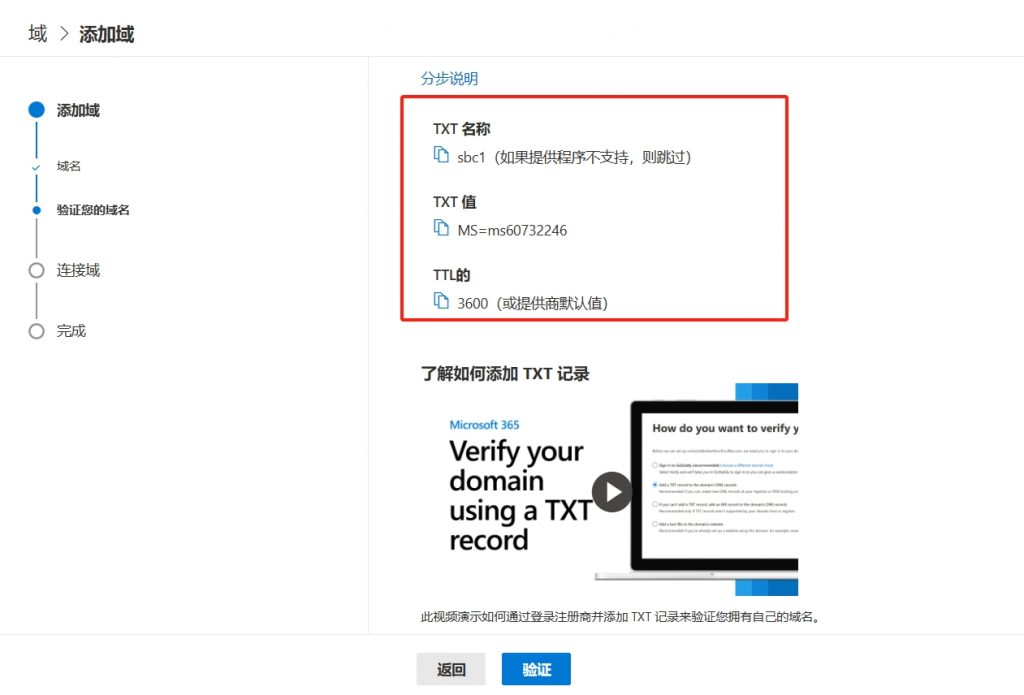
Wait for 58VOIP staff to finish adding DNS records, after adding, click Verify, then in the pop-up screen select More Options and the select Skip and do this later and click Continue.
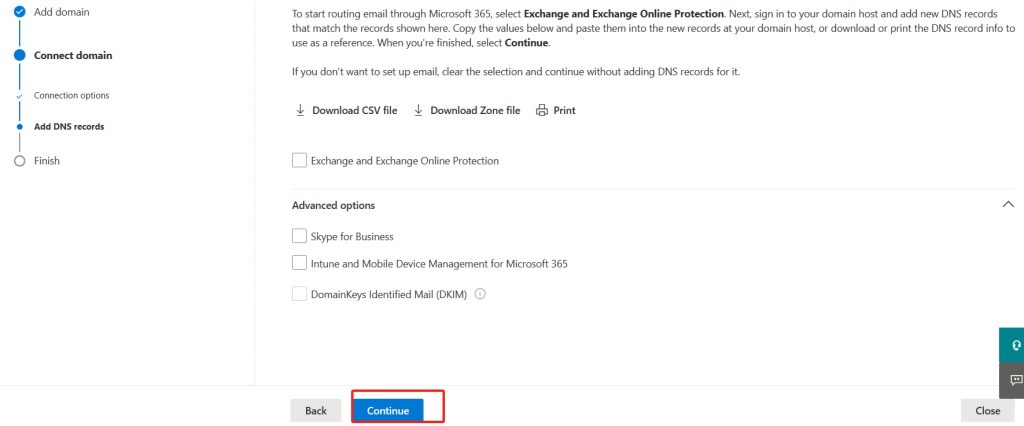
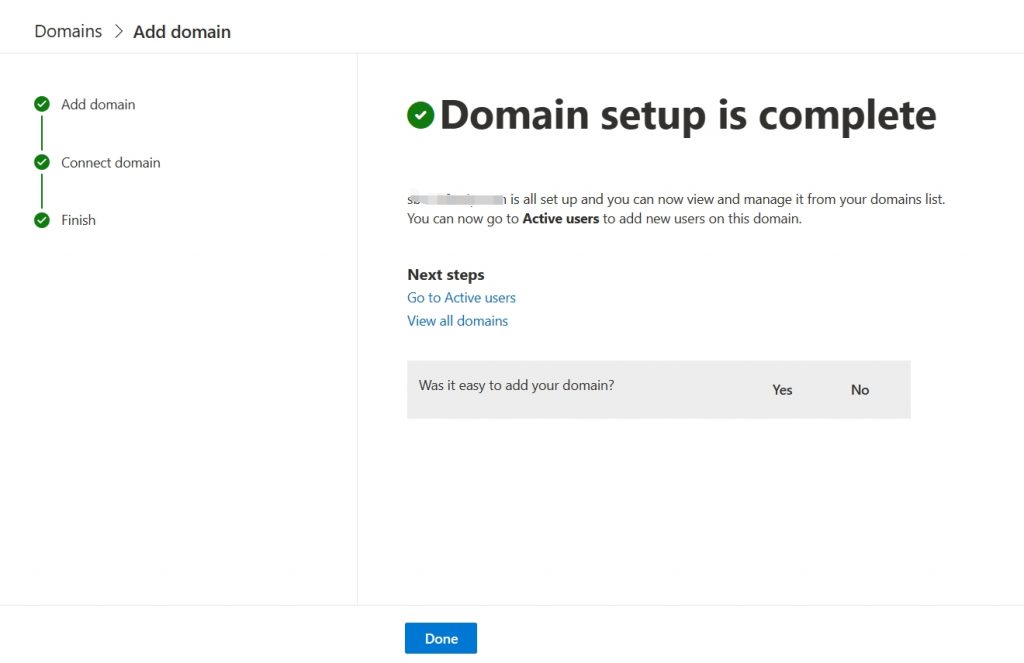
Now we’re done adding and verifying the domain.
Activate the subdomain name
After you have registered a subdomain name, you need to activate it by adding at least one Teams licensed user or resource account. Acceptable accounts will be licensed with any one of the following SKU’s:
- User Account with Office 365 E1/E3/E5/A3/A5 or Microsoft 365 E3/E5/A3/A5
- User Account with Office 365 F1/F3 or Microsoft 365 F1/F3
- User Account with Microsoft 365 Business Basic/Standard/Premium and G3/G5 plans
- User Account with a Microsoft Teams Shared Devices license
- Resource Account with a Microsoft Teams Phone Resource Account license
Additionally the account’s UPN (User Principal Name) or Skype for Business on-premises SIP address must use the same FQDN as the newly created subdomain.
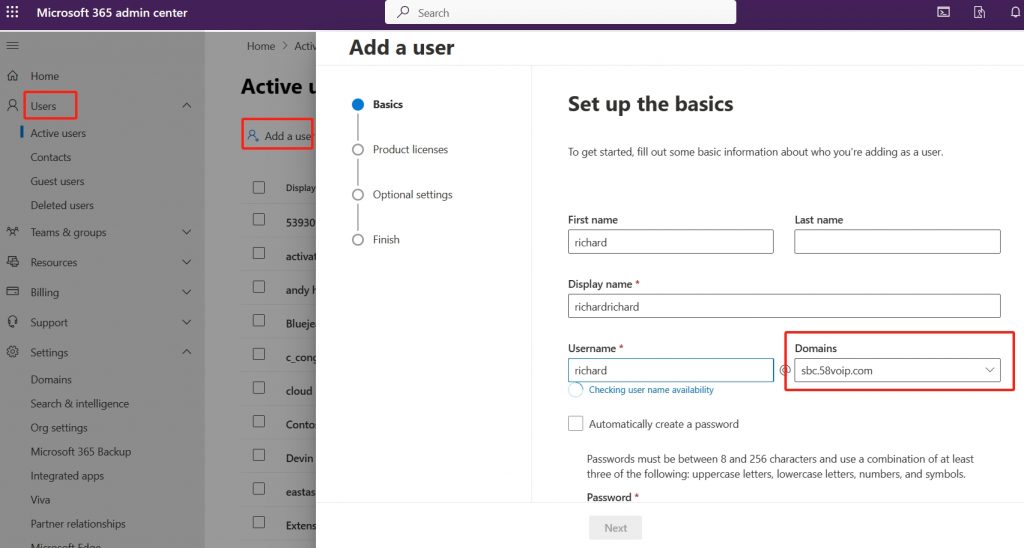
Go to 365 Admin Center Users – Active users, click Add User, we choose to use the newly added domain and assign the relevant license.
Microsoft Teams: Direct Routing Setup
The Teams Direct Routing Setup can be found in the official Microsoft documentation linked below.
Enable users for Direct Routing – Microsoft Teams | Microsoft Learn
Note: When adding SBC FQDN, you can directly fill in the subdomain name you just added.